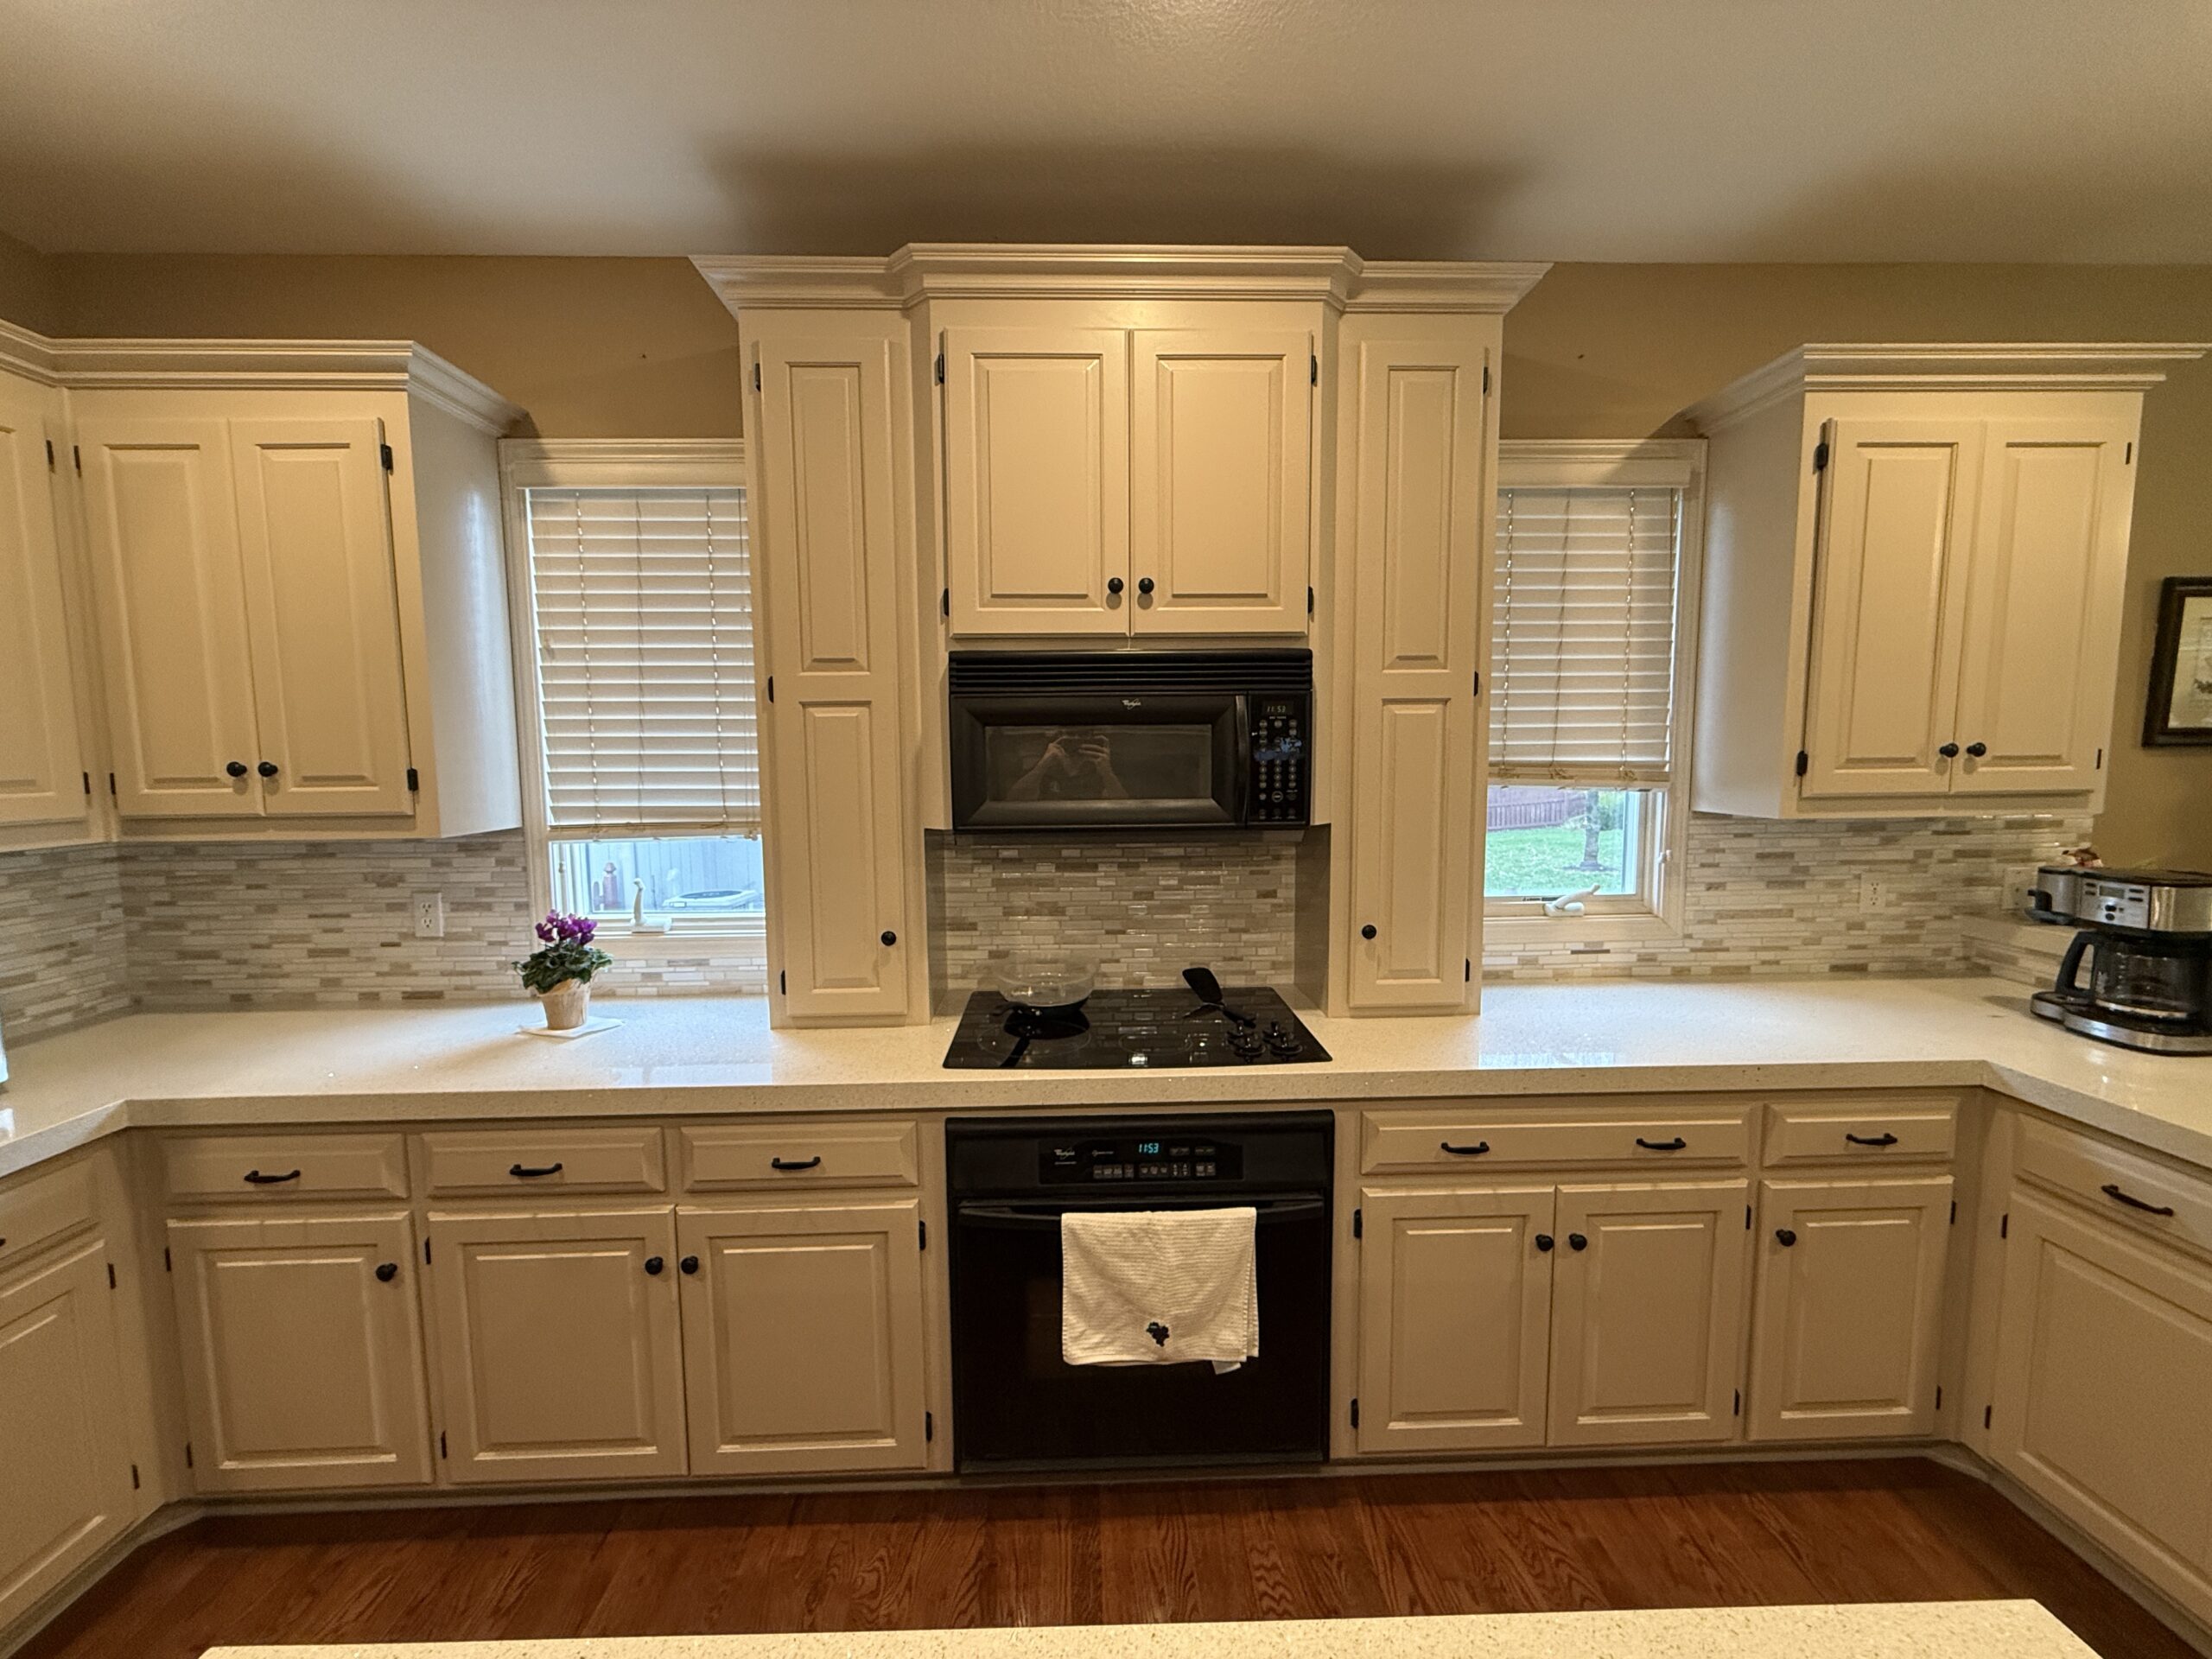
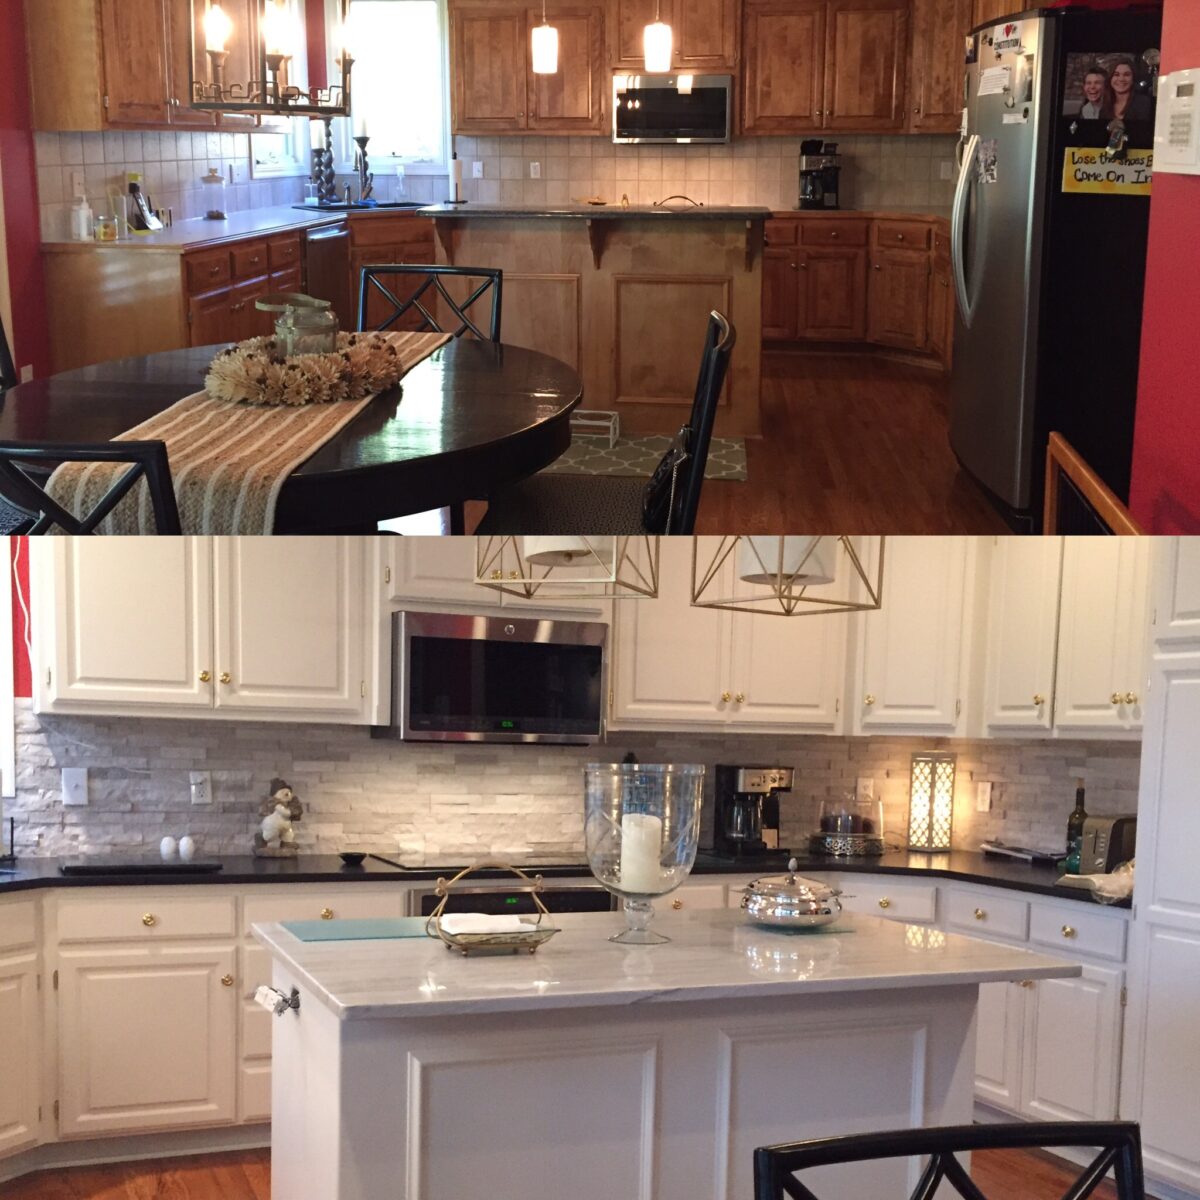
Cabinets are the heart of a kitchen or bathroom, but without proper cabinet refinishing, years of painting and quick touch-ups can lead to thick, uneven layers that dull their beauty. If your cabinets have a sticky finish, peeling paint, or a bulky look, chances are they’ve been painted multiple times without adequate preparation.
Many homeowners assume painting over existing paint is the easiest fix, but excessive buildup can prevent doors from closing properly, trap dirt, and lead to chipping.
Whether you’re a DIYer looking to restore your kitchen cabinets or a professional ensuring high-quality work, this step-by-step cabinet refinishing checklist will help you achieve smooth, long-lasting results.
Identifying Excessive Paint Buildup
How do you know when it’s time to strip old paint rather than just applying another coat? Excessive layers of paint can ruin both the look and functionality of your cabinets. Here are the telltale signs that cabinet refinishing is necessary:
- Rough, Uneven Texture – The surface feels bumpy or ridged, often caused by multiple thick layers of paint.
- Chipping and Peeling – Paint is flaking off in sheets, signaling poor adhesion from previous coats.
- Sticky or Tacky Finish – Cabinets never fully dry, often due to improper curing between coats.
- Blocked Cabinet Seams – Excessive paint buildup prevents cabinet doors and drawers from closing smoothly.
- Visible Brush Strokes and Drips – Thick, uneven applications leave behind permanent imperfections.
If your cabinets show any of these issues, it’s time for proper cabinet refinishing—starting with stripping away old paint layers before applying a fresh, smooth finish. Skipping this step can lead to more peeling, uneven surfaces, and poor durability in the long run.
Risks of Painting Over Excessive Buildup
Skipping the paint removal process can lead to serious issues that compromise the quality of your cabinet refinishing. Peeling and cracking occur when new paint struggles to adhere to old, uneven layers. Excessive buildup can also trap moisture, leaving cabinets feeling perpetually sticky. Thick layers of paint obscure wood grain and intricate architectural details, diminishing the natural beauty of your cabinets.
Worst of all, improper prep work means you’ll be repainting sooner than expected, as the finish won’t hold up over time. Investing time in thorough preparation ensures a smooth, professional-grade cabinet refinishing job that lasts for years.
Assessing Cabinet Condition Before Refinishing
Before starting the cabinet refinishing process, take a step back and inspect your cabinets. Not every cabinet is a good candidate for refinishing—some may need repairs before they can handle a fresh coat of paint.
Stripping and repainting won’t fix warping, moisture damage, or structural issues, so a quick assessment now can save you from frustration later.
Structural Checklist for Cabinet Refinishing
Solid Wood or MDF – These materials take paint well. If your cabinets are laminate, they’ll need a special bonding primer or a different refinishing approach.
Water Damage & Warping – Swollen, discolored, or soft spots mean trouble. Warped doors won’t sit flush, and moisture damage can cause peeling or bubbling paint down the line.
Mold & Mildew – Black or green patches signal a moisture problem. Painting over them won’t help—clean and treat the area first.
Hinges & Drawer Tracks – Do the doors close properly? Do drawers slide smoothly? Loose, misaligned, or rusted hardware can ruin a refinishing job. If hinges are worn out, replace them before painting.
If cabinets are severely warped, rotting, or have major structural damage, refinishing alone won’t cut it. Repairs may be needed before you move forward. Skipping this step can lead to wasted time, money, and effort.
Removing Excess Paint Buildup
Choosing the Right Removal Method
| Method | Best For | Pros | Cons | Recommended Products | Material Compatibility |
|---|---|---|---|---|---|
| Chemical Stripper | Thick, multiple paint layers | Fast, removes multiple layers at once | Strong fumes, messy cleanup, can damage veneer | Citristrip, Klean-Strip Premium Stripper, Smart Strip | Works on wood, MDF, and metal (test on veneer) |
| Sanding | Smooth surfaces with minimal buildup | Precise control, smooth finish | Time-consuming, creates dust | 3M Pro Grade Sandpaper, Festool Rotex 150 | Best for solid wood and MDF (avoid excessive sanding on veneer) |
| Heat Gun | Small, detailed areas | No chemicals, lifts paint quickly | Risk of scorching wood, requires experience | Wagner Furno 500, DEWALT D26960 | Works well on solid wood but can damage MDF and veneer |
| Infrared Paint Remover | Older, lead-based paint | Safe for lead paint, minimal fumes | Expensive, slow on thick layers | Speedheater Cobra, Eco-Strip Speedheater 1100 | Best for solid wood, not ideal for MDF or laminate |
| Paint Scraper (Manual) | Small touch-up areas, spot removal | No chemicals or heat, precise for edges | Labor-intensive, may gouge wood | Bahco 665 Scraper, Hyde Tools 6-in-1 Multi-Tool | Works on all surfaces but requires care on veneer |
Step-by-Step Paint Removal Process
Proper preparation is the key to a smooth and professional-looking cabinet refinishing project. Gathering the right tools and following each step carefully will ensure the best results.
What You’ll Need:
- Drop cloths & plastic sheeting
- Painter’s tape
- Paint stripper or sander
- Scrapers & steel wool
- Protective gloves & mask
- Degreaser or TSP substitute
- Mineral spirits or denatured alcohol
Step-by-Step Paint Removal Process:
- Remove all cabinet doors, drawers, and hardware. Label each piece to make reassembly easier. Store screws and hinges in labeled bags.
- Clean all surfaces with a degreaser. This removes kitchen grease, cooking residue, and dust buildup, which can affect paint adhesion.
- Apply paint stripper if using a chemical method. Follow the manufacturer’s instructions for application time. Use a putty knife or plastic scraper to lift softened paint carefully.
- Scrape off softened paint gently. Work in small sections, using steel wool or a stiff brush for intricate areas. Avoid gouging the wood.
- Sand any remaining residue with 150-220 grit sandpaper. For a smooth, even surface, use a sanding block or power sander. Wipe away dust with a tack cloth.
- Wipe cabinets clean with mineral spirits or denatured alcohol. This removes any lingering stripper residue and preps the surface for refinishing.
Once your cabinets are stripped and smooth, they’re ready for priming and painting.
Repairing Cabinet Damage
After stripping old paint, you might notice dents, cracks, or other imperfections that need attention before moving forward with cabinet refinishing. Skipping these repairs can lead to an uneven finish and poor paint adhesion.
For chipped or damaged wood, use a high-quality wood filler or epoxy to rebuild the missing sections. Once dry, sand the area smooth to blend seamlessly with the surrounding surface. If the veneer is peeling, apply wood glue underneath the loose edges, press it back into place, and clamp it overnight for a secure bond. For deep scratches or gouges, fill them with wood filler, allow it to dry completely, then sand it flush with the surface.
Before applying primer, always finish with a final sanding using 220-grit sandpaper. This step ensures the surface is smooth and ready for paint, helping you achieve a durable, professional-grade cabinet refinishing result.
Choosing the Right Paint and Tools
Selecting the right paint is crucial for a cabinet refinishing project that lasts. Not all paints adhere well to cabinets, and choosing the wrong type can lead to chipping, peeling, or a poor finish.
Best Paint for Cabinets
- Acrylic-latex paint – Water-based, easy to clean, and resistant to yellowing. Ideal for DIYers who want a durable yet user-friendly option.
- Oil-based paint – Offers a smooth, self-leveling finish with excellent durability. However, it takes longer to dry and has a stronger odor.
- Water-based urethane – A hybrid option that combines the durability of oil-based paint with the easy cleanup of latex. It dries fast and resists scratches and moisture.
Best Paint Sheen for Cabinets
- Satin or semi-gloss – These finishes provide a perfect balance of durability and aesthetics. They resist stains and grease while offering a sleek, modern look. High-gloss is also an option for a bold, ultra-reflective finish, but it requires meticulous prep work.
Best Application Tools for a Smooth Finish
- Synthetic brush – Ideal for cutting in edges, painting detailed areas, and getting into corners. Choose a high-quality brush with fine bristles to minimize brush strokes.
- Foam roller – Helps apply thin, even coats on flat surfaces without leaving texture marks. Works well for doors and drawer fronts.
- Paint sprayer – The best option for achieving a professional, streak-free finish. It covers large surfaces quickly and evenly but requires proper technique and ventilation.
Using the right combination of cabinet refinishing products and tools ensures a smooth, factory-like finish that enhances the look and longevity of your cabinets.
Step-by-Step Guide to Repainting Cabinets
Proper preparation is the foundation of a cabinet refinishing project that looks professional and lasts for years. Skipping or rushing through prep work can lead to poor adhesion, uneven finishes, and premature chipping.
- Clean thoroughly – Use a strong degreaser or TSP (trisodium phosphate) to remove built-up grease, dust, and grime. Cabinets in kitchens and bathrooms are often coated with invisible residues that can prevent paint from bonding properly.
- Tape off surrounding areas – Protect countertops, walls, and floors with painter’s tape and drop cloths. This ensures sharp edges and keeps paint splatters at bay.
- Prime before painting – A high-quality primer creates a smooth base, improves adhesion, and blocks stains from wood tannins or old finishes. Apply it in thin, even coats and let it dry fully before moving on to paint.
Best Primer Choice: Shellac-based primer – Offers superior adhesion, stain blocking, and durability. It’s particularly effective for glossy surfaces and cabinets with existing oil-based paint.
Painting for a Flawless Finish
A smooth, streak-free finish is the hallmark of high-quality cabinet refinishing. Rushing through the painting process can lead to drips, visible brush marks, and an uneven surface.
How to Apply Paint Like a Pro:
- Use thin coats – Avoid applying thick layers, which can lead to drips and an uneven texture. Thin, even coats provide better coverage and durability.
- Allow proper drying time – Most paints require 2-4 hours between coats, but always follow the manufacturer’s recommendations. Rushing this step can cause tacky, imperfect results.
- Lightly sand between coats – Using a fine 220-grit sandpaper smooths out imperfections and ensures each layer bonds seamlessly to the next. Wipe off dust before applying the next coat.
- Finish with a protective topcoat – A clear polyurethane or water-based acrylic topcoat adds an extra layer of protection against scratches, moisture, and daily wear. It’s essential for cabinets in high-traffic areas like kitchens and bathrooms.
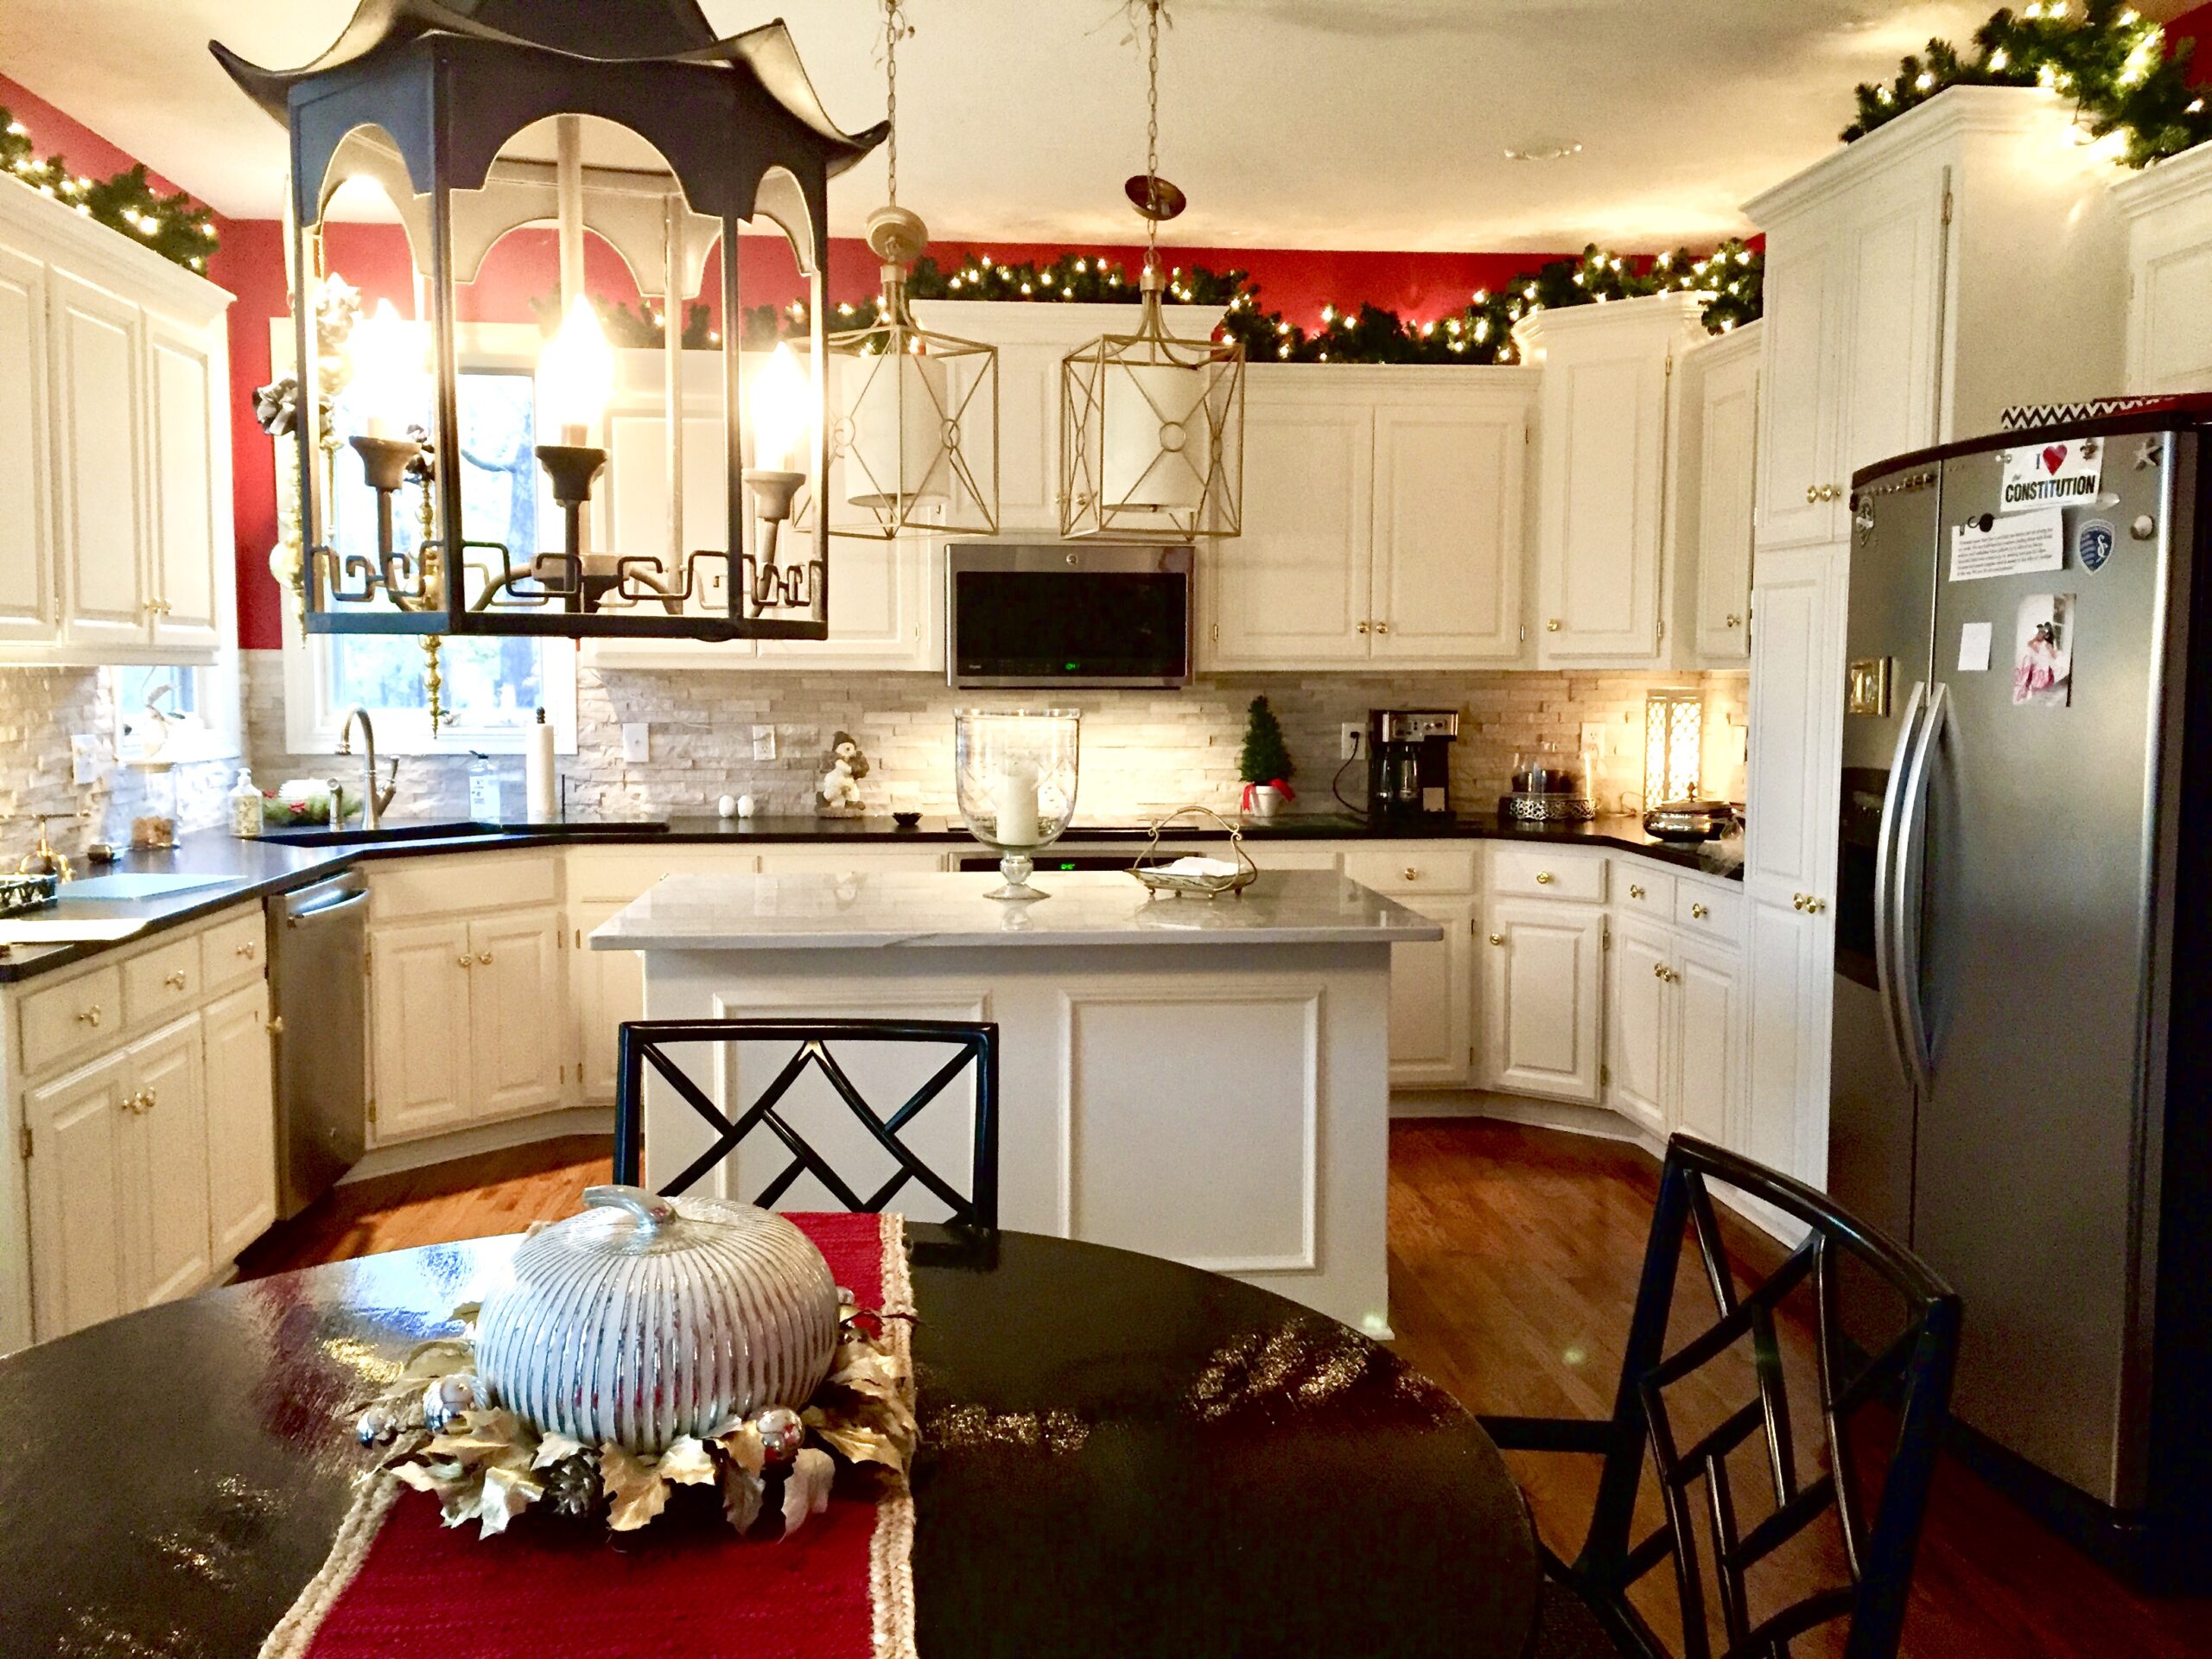
Taking the time to properly prep and paint your cabinets ensures a refinished look that rivals a factory finish, giving your space a fresh, high-end appearance that lasts.
When to Hire a Professional
Refinishing cabinets yourself can save money, but achieving a flawless, long-lasting finish requires time, patience, and skill. A professional refinishing service ensures a smooth, factory-grade result with expert techniques and high-quality materials.
Hiring a pro is the best choice if your cabinets have intricate details that require spray finishing, need structural repairs before painting, or if you want a seamless, brush-free finish. Professional refinishing also guarantees better durability, minimizing the need for frequent touch-ups. If precision and longevity matter, leaving it to the experts is often the smarter investment.
Maintenance Tips for Painted Cabinets
Proper care is essential to keep your newly refinished cabinets looking their best. Clean surfaces regularly with mild soap and water, avoiding harsh chemicals that could damage the finish. For minor scratches or chips, keep extra paint on hand for quick touch-ups.
To protect the finish, be mindful of heat and moisture—never place hot or wet items directly on painted cabinet surfaces. For added durability, consider applying a clear polyurethane coat. This extra layer helps prevent wear and extends the lifespan of your cabinet refinishing, keeping your kitchen or bathroom looking fresh for years to come.
Conclusion
Refinishing cabinets the right way takes time, but the results last for years. By following this step-by-step checklist, you’ll achieve a professional-quality, long-lasting finish.
Thinking about a professional refinishing service? Get a free estimate today!